
This article is about replacing the blue masking tape build surface in the Ultimaker 2, 2+, 2 Extended, & 3 Extended 3D printers. If you are trying to level your buildplate you may want to read How do I level the buildplate on an Ultimaker 2, 2+, or 2 Extended? [LINK] or How do I level the buildplate on an Ultimaker 3 or 3 Extended? [LINK]
Resurfacing
Estimated Time: 5 minutes Difficulty: Extremely Easy
|
||
|
1) Prepare the printer
- Turn off the printer
- Disengage the buildplate clips - NOTE - Avoid touching the buildplate leveling screws when disengaging the clips.
- Slide the buildplate out of the printer
2) Clean the buildplate
- Remove any tape that is left on the buildplate
- If there is glue residue on the buildplate wash it with warm soapy water
3) Replace the tape
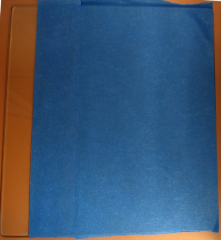
- Start by applying a strip of 6" tape
- Line it up straight with the edge of the buildplate
- Make sure it is applied smoothly without any wrinkles
- Apply a strip of 2" tape
- Line it up with the edge of the 6" tape
- Avoid overlapping tape. The tape is almost as thick as a layer of print
- Avoid gaps between strips of tape. Filament will not stick if there is a gap.
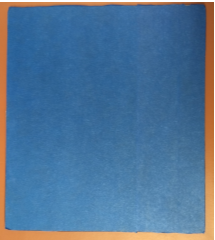
- Apply another strip of 2" tape
- Line it up with the edge of the previous strip of tape
- Avoid overlaps or gaps
- Trim excess tape with a utility knife
- Make sure to do this over a cutting surface.
 |
 |
 |
| 1) Apply a 6" strip of tape | 2) Apply a 2" strip of tape | 3) Apply a 2nd 2" strip of tape and trim |
4) Reassembly
- Slide the buildplate back into the printer
- Reengage the buildplate clips
- Turn the printer back on
- Print a buildplate leveling test to check that your buildplate is still level
Comments
0 comments
Please sign in to leave a comment.