
This article is about preparing your 3D model for printing on a 3D printer. If you don't have a model yet, you might be interested in reading Getting a 3D Model [LINK]
Slicing
Now that you have your 3D model, the next step is to prepare it for the printer. This is done with a piece of software called a “slicer.” It is called a slicer because it slices your 3d model into the hundreds of layers that the printer will print to fabricate your model. That may sound daunting, but in fact it's easy and YOU CAN DO IT!
|
1) First you're going to want to open Cura. It is installed on all the Makerspace workstations and on the workstation marked “Slicing Station” in the Engineering Lab.
|
|
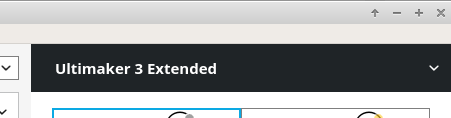
2) Make sure you have the type of printer selected that you will be printing on. The printer selection box is in the upper right corner of Cura. The Makerspace has Ultimaker 2, and Ultimaker 3 Extended printers, and the Engineering Lab has Ultimaker 2, Ultimaker 2 Extended, and Ultimaker 3 Extended printers. Engineering Lab printers are only for Engineering class use. The printer has a label on the front that tells you the model of the printer and the equipment reservation page also describes the models of the printers. |
 |
|
3) To start, let's select the “Draft Quality – 0.2mm” printing profile. As you gain experience in 3D printing you may find that you want to experiment with other profiles and settings. |
 |
|
4) Load your model into Cura. The load icon is in the upper left corner of Cura and looks like a folder.
|
|
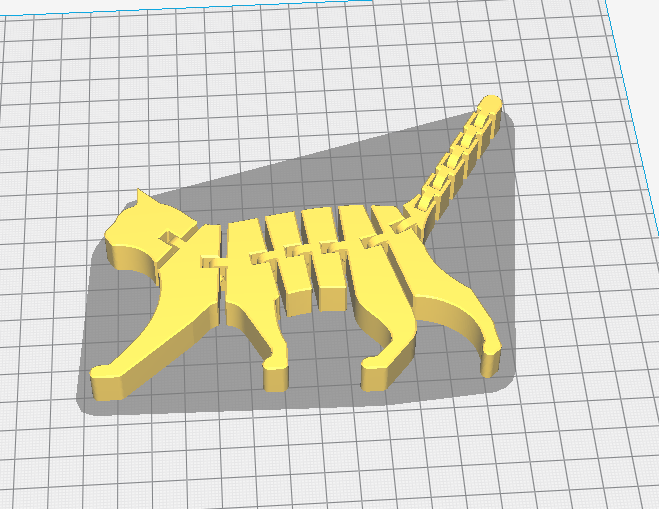
5) You should now see your model represented in Cura |
 |
|
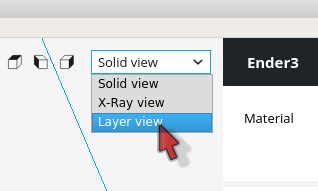
6a) Check if you need supports. To do this switch to the layer view and click Prepare in the bottom right corner. It may take a minute or two for it to finish slicing the model, so only click Prepare once. |
  |
|
6b) To check for overhangs use the slider to scan up and down your model looking for parts of your print that don't have anything to support them when they print. The example below is an example of an extreme overhang. Without support the printer would just try to deposit filament in midair causing a big mess and a failed print. |
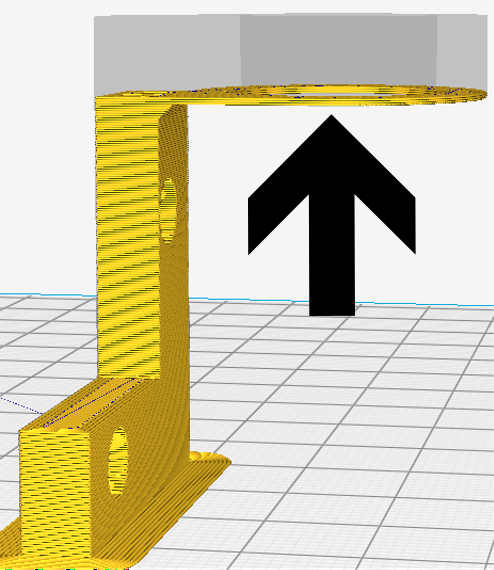 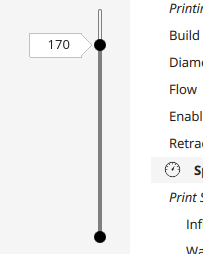 |
| 6c) We can see that the model above has an unsupported overhang. That is to say there is a large and important part of the model that does not have any material between it and the surface representing the buildplate of the printer. While this model could likely be rotated to print more effectively to keep this document short we are simply going to turn on the “Generate Supports” option as some models won't be able to be rotated and we want to demonstrate how to add supports. If your model did not have any unsupported overhangs you can skip to step 7 |
6d) To enable supports you will need to scroll down through the options until you find the Supports section and check the box that says “Generate Supports”. Some prints will only need supports that touch the bed, and some may need supports Everywhere. YOU CAN experiment with this. When you change these options you may need to click “Prepare” again for them to take effect. The important thing is that when you're done that the unsupported overhangs are supported. If you want help, just ask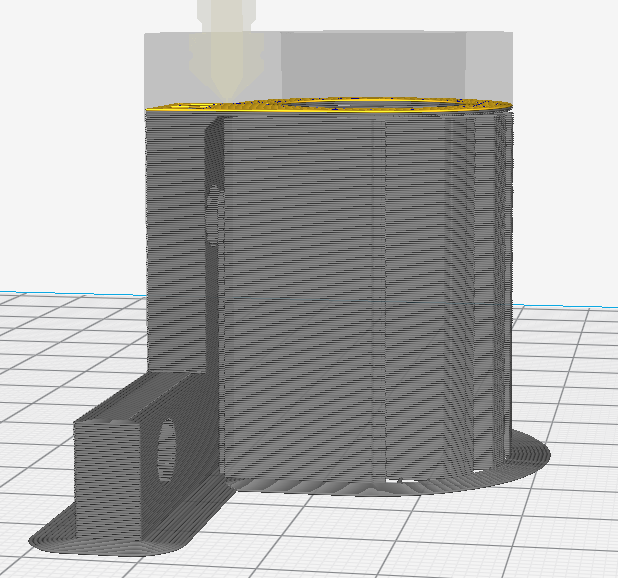 |
7) When you are happy with your layout make sure to click “Prepare” one last time and then click “Save File” Again, we suggest you save it to your network storage (on a school assigned laptop the Desktop is fine). Make a note of the estimated print time as you will need that to reserve time for printing. Note that printing will usually take about 50% longer than estimated. Don't be discouraged by long print times. You will NOT need to be present for most of the print time. |

Once you have saved the file you're ready to move on to How do I schedule printer time? [LINK]
Comments
0 comments
Please sign in to leave a comment.